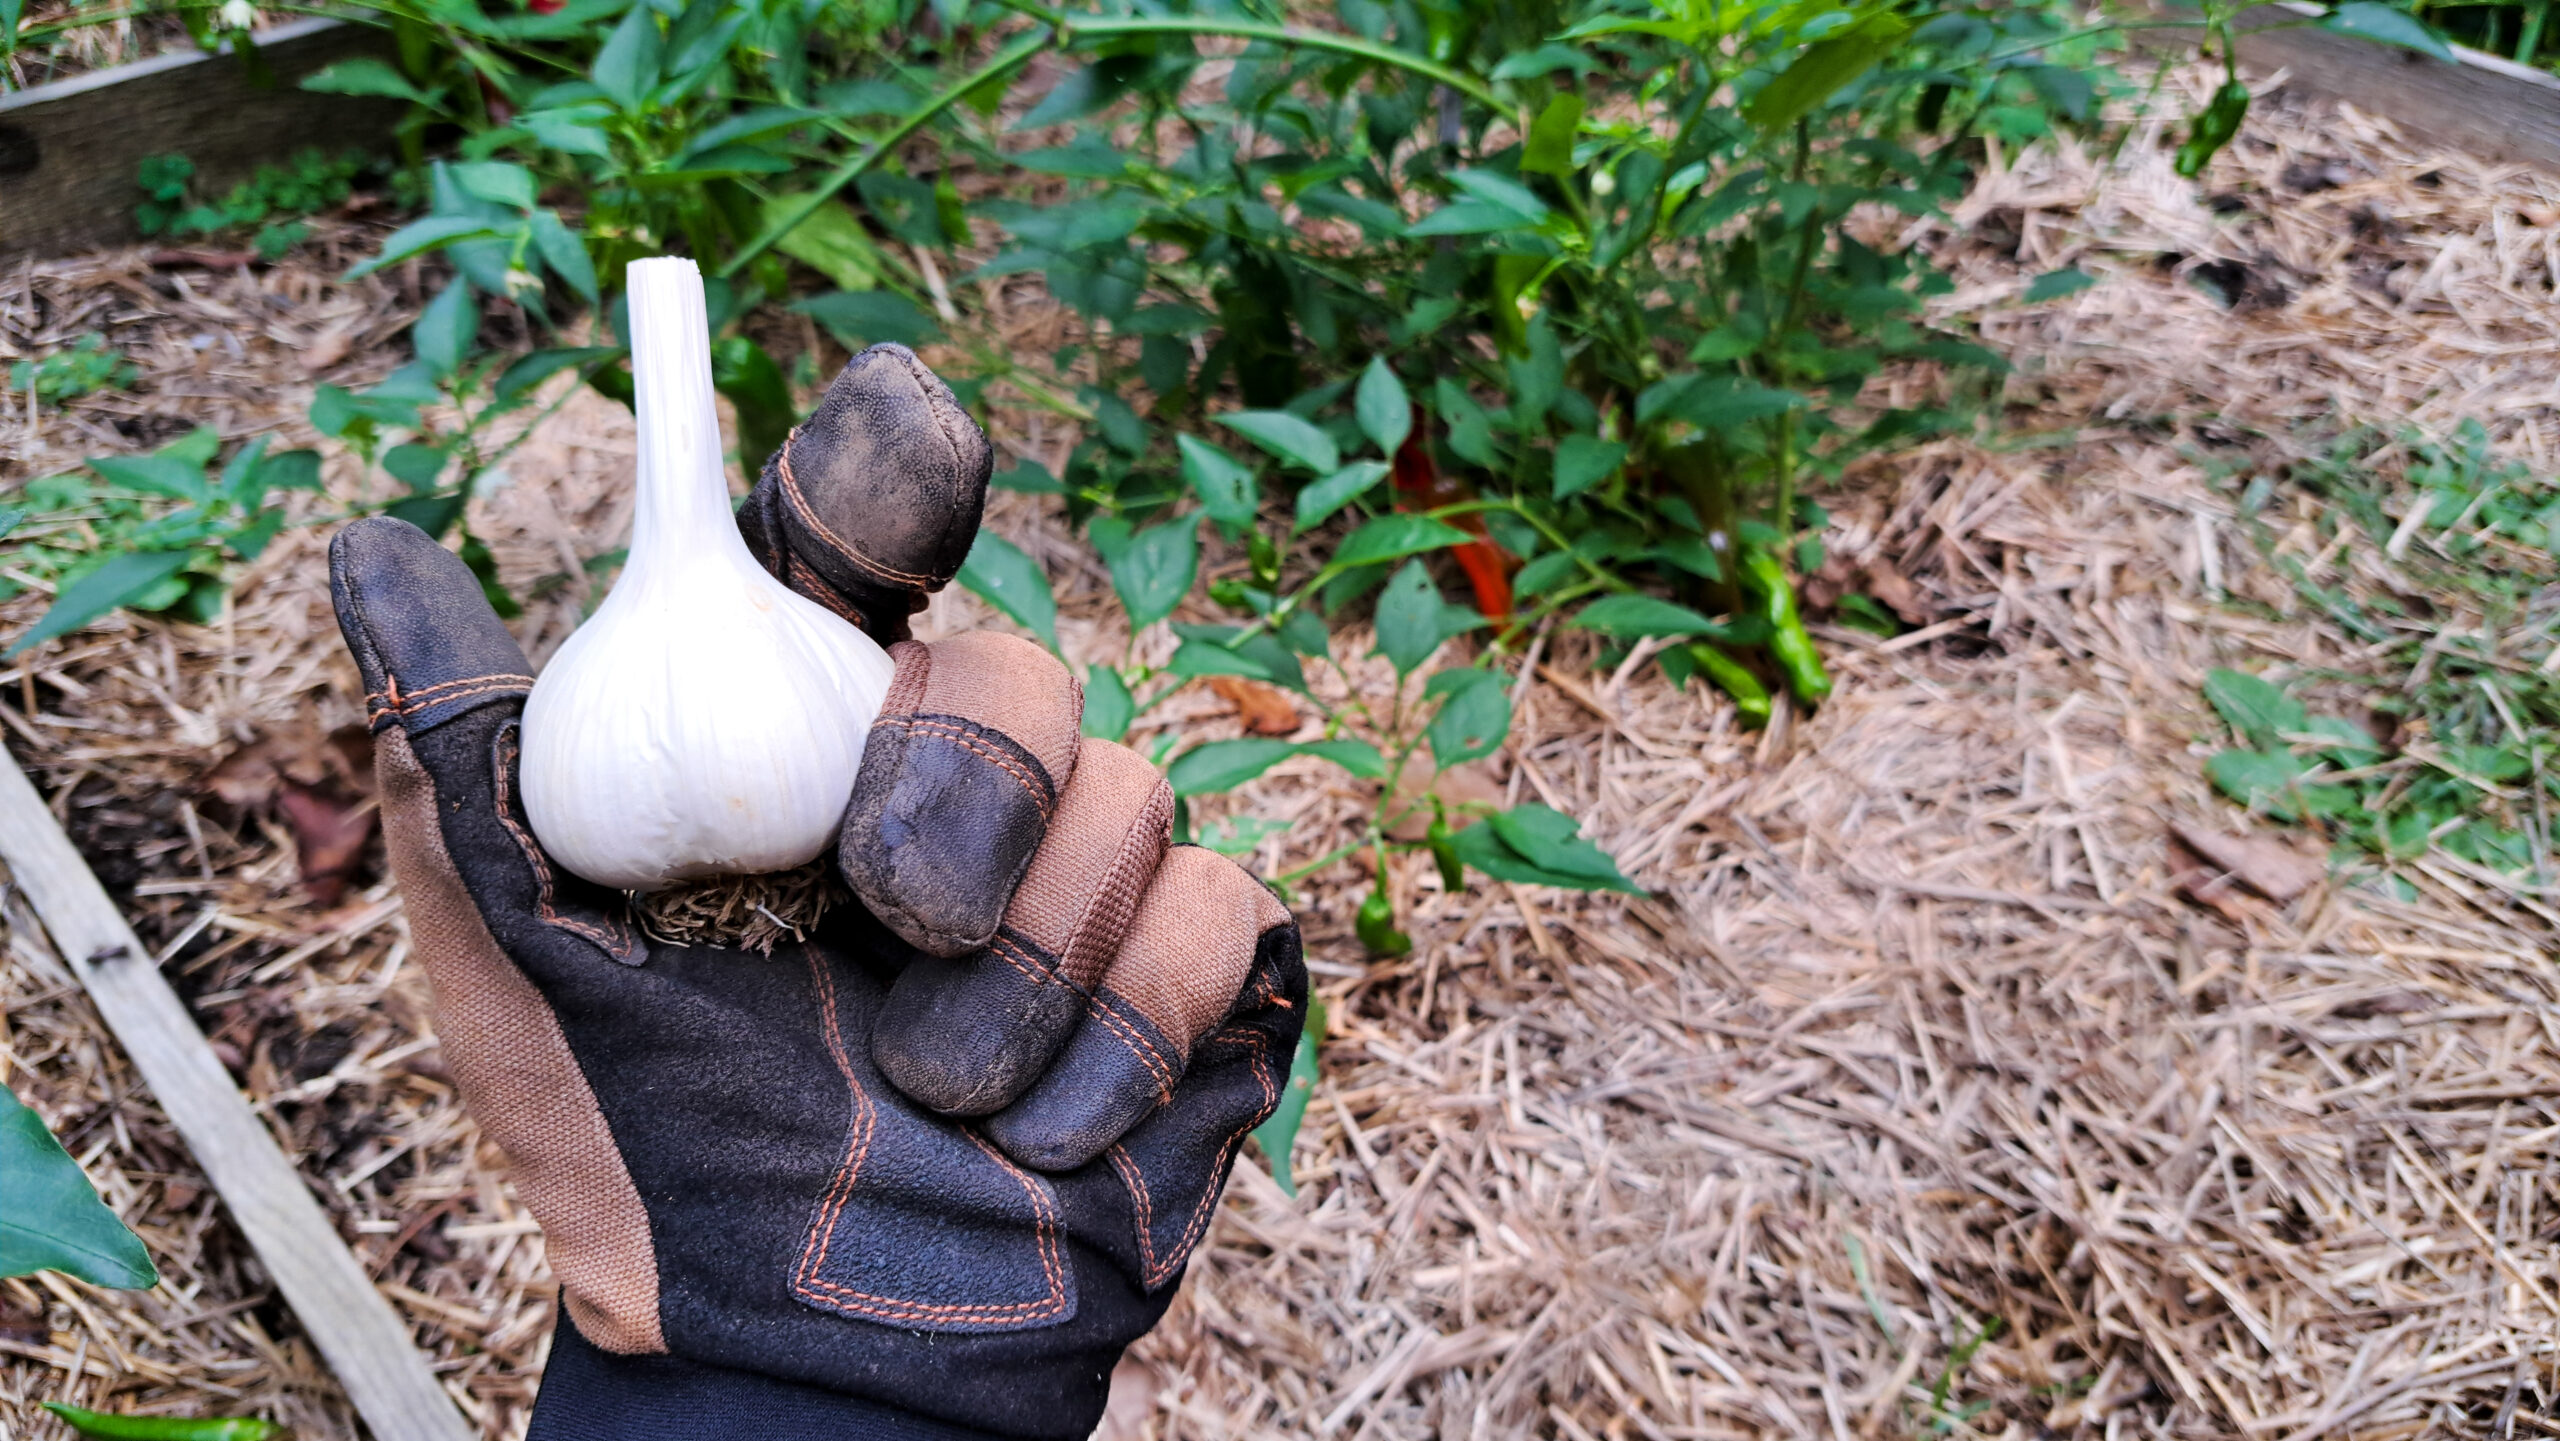
How to make garlic part of your plans for all four seasons
Written By: Daniel Padell
Winter is coming. Your once proud garden lies in shambles, a ruin of its former glory that even the crows are starting to avoid. Halloween has come and gone, and the frost has begun writing glittering poetry on the crisp, fallen leaves. As the great cold surrounds the bones of your oasis, it’s easy to turn away, shed a silent tear, and dream of the distant springtime. Memento mori, dust to dust. But weep not, weary gardener, greatness still awaits. Now is the time to get your next summer’s crop in the ground and gather your reserves for the long months ahead.
Some of us are winter people, some of us just aren’t. There are those who are chilled by the very thought of the gusting wind, the shorter days, the sticks, the ice, and the brooding grey skies. Then there are those who cherish the crackling fires, the hot drinks, the comforters, the hoodies, and the warm, fuzzy socks. Whether you’re chasing down that last planting fix of the year, seeking a hearty enhancer for a savory winter meal, trying to shake off those back-to-school sniffles, warding off last month’s lingering vampires, or even just shifting into soup mode, your humble, versatile, and pungent friend garlic is here with the answer.
You may be eager to run out and revitalize your beloved little patch of life, but this is still gardening and timing is still important. Much of New England is in USDA planting zone 5, and garlic should ideally go in the ground sometime in mid-to-late October, but can be planted at any point between the Fall Equinox and the big freeze. The aim is to get your cloves comfortably situated before the ground freezes solid, without the chance of a day warm enough to sprout them before springtime.
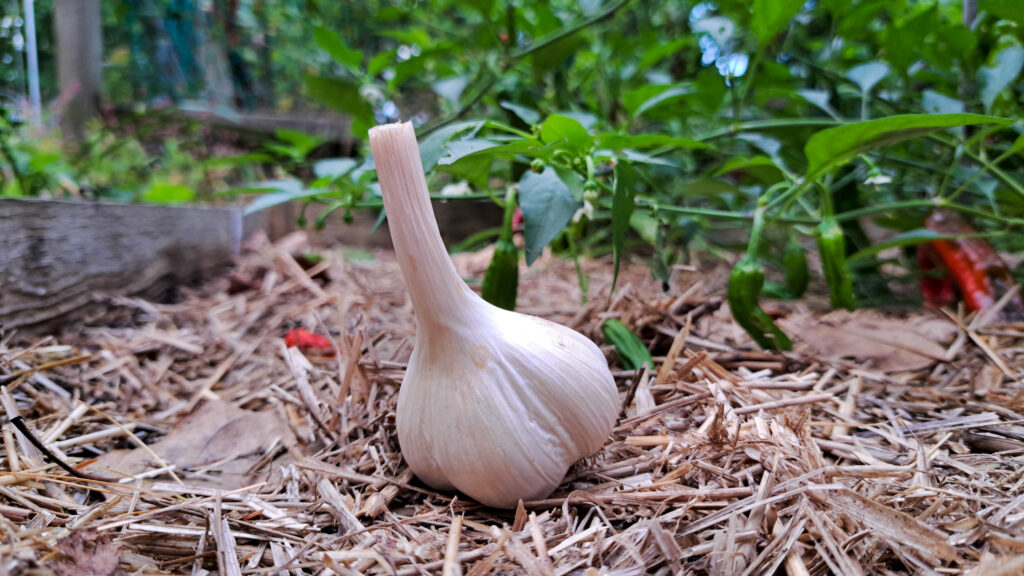
As always, it all starts with a seed; you’re going to need to find some garlic. Don’t just run off to the grocery store; try to find a farmstand with bulbs nearby since they’ll be fresher and more adapted to your local conditions. Separate the cloves from the bulb and discard the stalk and the paper, but leave the individual cloves unpeeled. They’ll need their outer casing to survive the long winter freeze. Choose only the largest, most well-formed cloves for planting and set aside any that are damaged during this process to help guarantee the best bulbs in the coming summer.
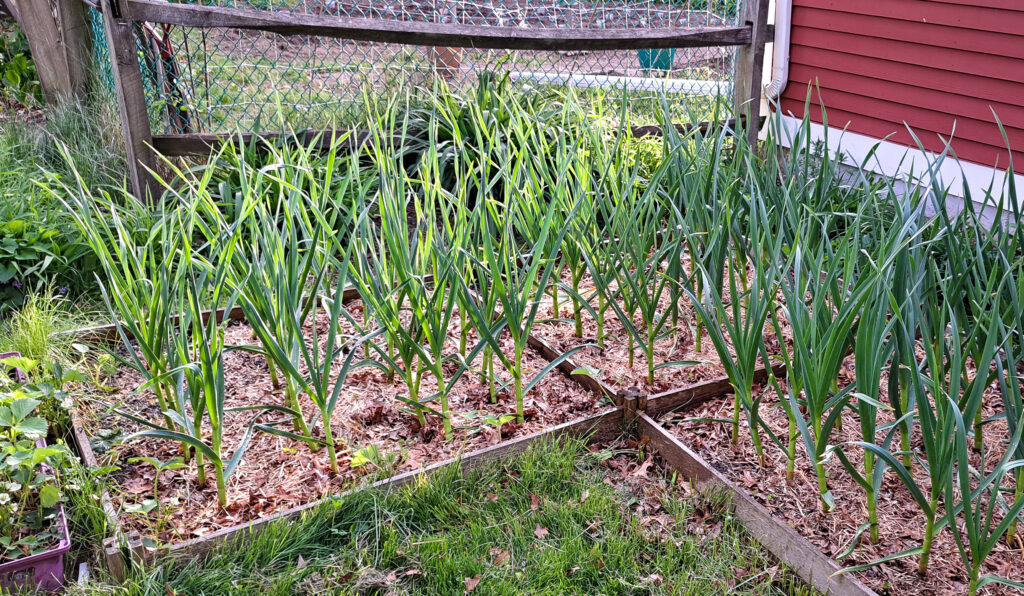
Break up the soil in a well-drained area, and create long, parallel rows every five or six inches. A depth of two or three inches will be enough to protect your cloves from the harsh conditions. If your soil isn’t suited for it, or if you simply don’t have the space, they will also do well in a container as long as they still have enough distance between plants. The plants will grow about three feet tall, with leaves that spread into the other rows.
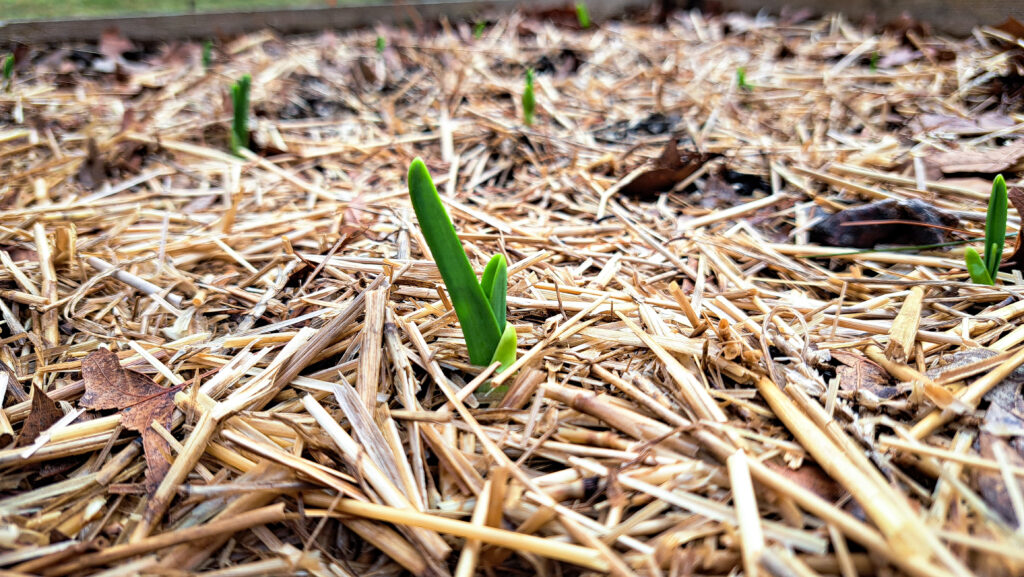
Press individual cloves into the rows spacing them about five inches apart, root-side down, and pointed-side up. When you’ve planted as many cloves as can comfortably fit, fill the rows in with the surrounding soil and gently pat them flush with the ground. On top of this pile straw or leaf litter about four inches deep, to insulate your new garlic patch from the impending ice and snow. Congratulations, gardener, your garlic is on the road to success, and they’ll be maintenance-free until springtime.
From Spring into Summer
Your garlic will begin poking up through the layers of insulating mulch before most other plants, and before long they’ll be fully grown. During the spring each will sprout a scape, the plant’s curling, leafless flower, which should be promptly removed and can be used in a number of delicious recipes. Sometime in the early summer, when the lowest two leaves of your plants have withered and browned, it’s time to dig them up. If you harvest too early the bulb may not have grown to its full potential, and waiting much longer will increase the likelihood of the bulb splitting from overgrowth.
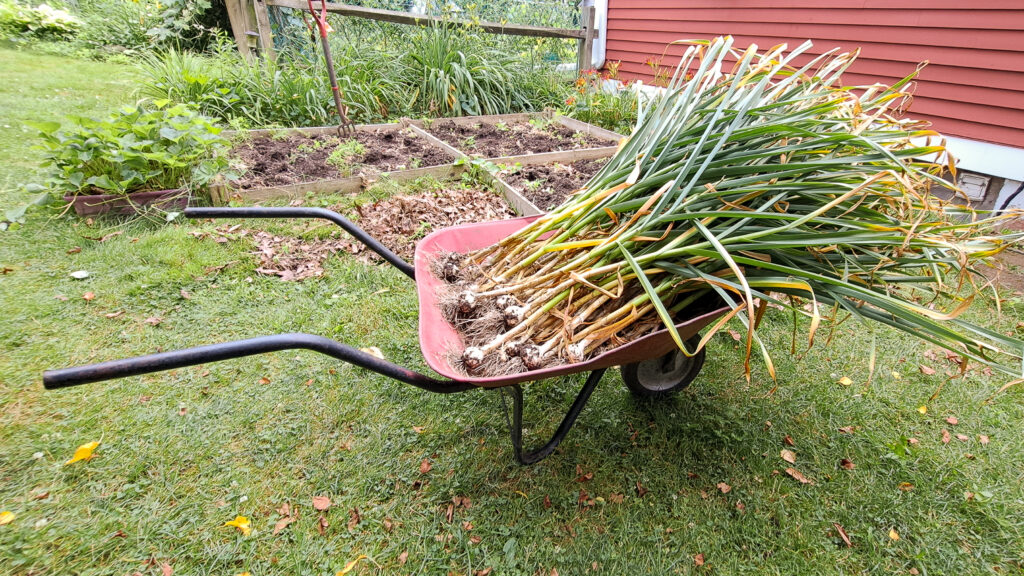
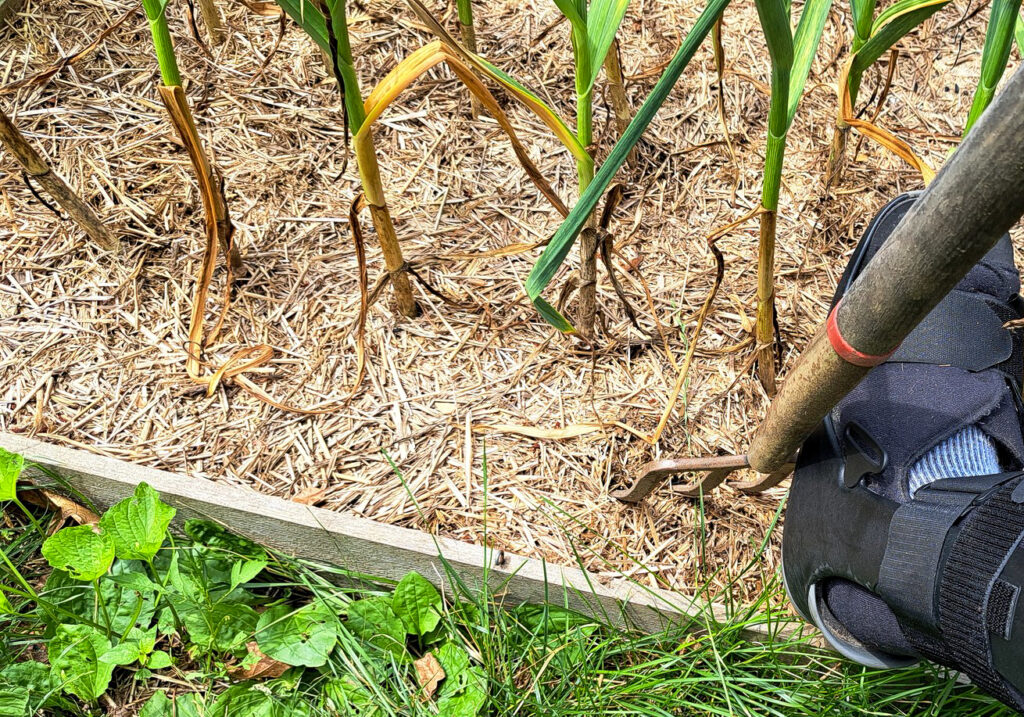
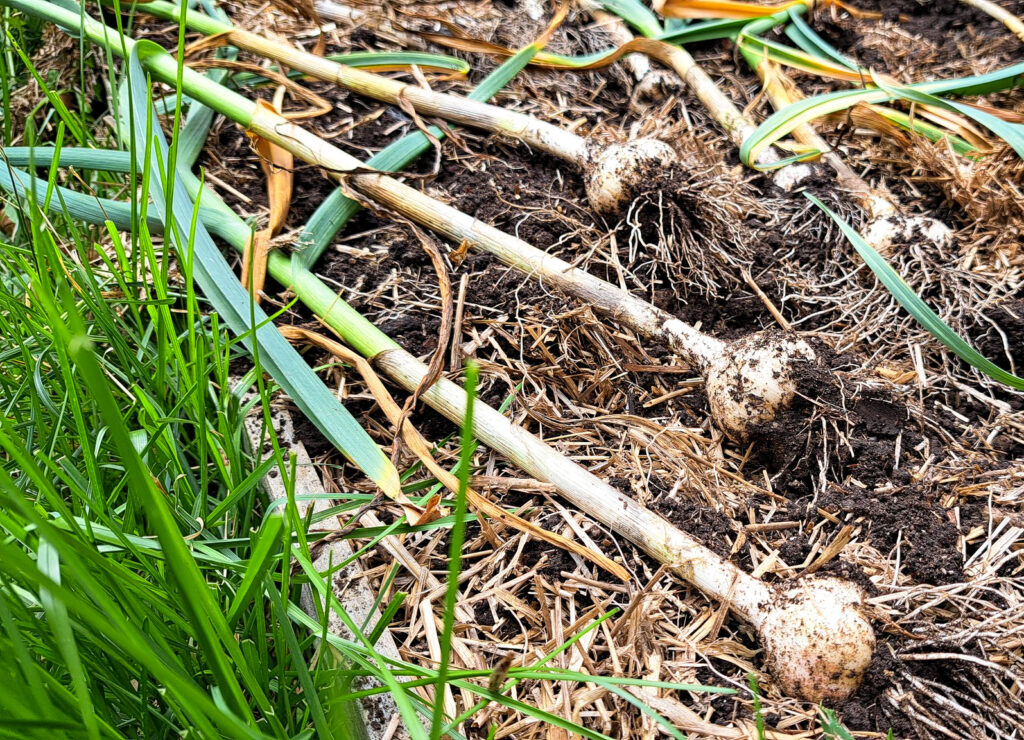
Using a pitchfork or another prying tool, reach under the garlic bulb’s root and gently lift the entire plant up through the surface of the soil, being mindful not to pull the bulb up by the stalk. Resist the urge to peel your unearthed treasure, and instead gently brush away most of the soil clinging to the outside. Lay your garlic, stalks and all, in a single layer on any surface that will promote airflow, like an old window screen or last season’s garden fencing. Alternately, as an effective space-saving solution, hang the harvested garlic bulb-side-up in bunches of around 10 plants. Within a couple weeks much of the soil will flake away, and your bulbs will have cured noticeably.
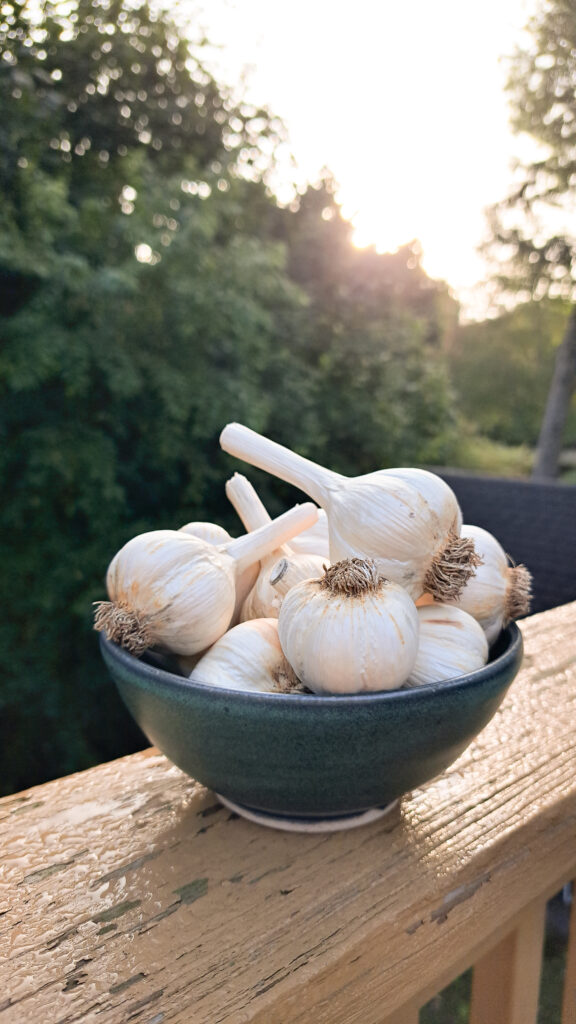
Once the plant’s leaves and bulb have become dry to the touch, it’s time to trim away the stalks and roots, then peel away the very outermost layer of paper (taking with it any remaining soil). Take a moment to admire your bounty, and notice how many new friends you’re making as word gets out of your fresh garlic haul. Choose the biggest, healthiest looking bulbs as your seed stock for next planting. The rest can be stored in a cool, dry place, and can be enjoyed for up to six months.
Post-Harvest and Beyond
You may be asking, “Well, what about right now? It’s practically wintertime and I’ve got all these extra cloves I didn’t plant.” You’ve got a pile of the smaller ones that didn’t quite make the cut, or maybe the leftovers from when there just wasn’t any room for more plants. They’ll need to be used somewhat quickly, as their shelf life once separated is a fraction of a whole bulb’s longevity. Garlic recipes can be pretty simple, the kinds of preparations that don’t take much space or make much of a mess, and there are hundreds of ways to use your fresh cloves. Pestos, purees, infusions, and seasonal detox are all at your fingertips.
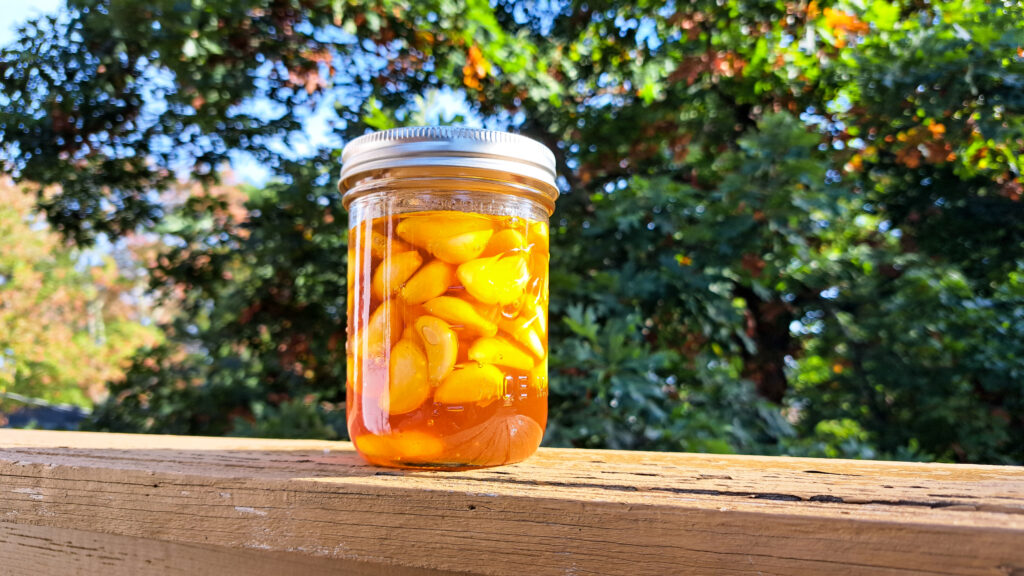
One of the easiest ways to use those leftover cloves is to ferment them in a jar with honey. Fully peel all the remaining paper from your cloves and submerge them in any variety of high-quality honey, and after a few days on the shelf the fermentation process will begin. Be sure to keep the cloves entirely covered by honey, and remember to release the pressurized gasses every few days. The infused honey can be used as a sweet and savory dressing for salads, a quick and ready glaze for baked or grilled dishes, or simply as a drizzle for your morning toast. Honey has long been believed to help soothe some of the pesky symptoms associated with wintertime illnesses, and this preparation provides the additional benefit of the garlic’s natural immunity-boosting properties.
Another way to utilize those extra cloves could be in an easy-to-make garlic confit. This simple and slow-cooked preparation only requires extra virgin olive oil, any number of garlic cloves, and an oven-safe dish. Fill the dish halfway with fully peeled garlic cloves, add enough extra virgin olive oil to fully cover the garlic, and bake in the oven at 240°F for about two hours. At the hour mark you may consider adding aromatics to adjust the flavor of your infused oil, such as peppercorns, lemon zest, rosemary, thyme, or cannabis. Cannabis will need to be ground and secured in a cheesecloth sachet to properly decarboxylate and contain the plant matter. The intensity of the cannabis effects will vary depending on the quality of cannabis and the amount of oil involved, so sample with caution. Garlic confit will last in the refrigerator for one or two weeks, or several months in the freezer.
Garlic confit can be enjoyed as-is; the cloves can be spread onto toast or crackers, or thrown into salads and used in soups and stews. The garlic’s intense flavor becomes very mild during the low-and-slow cooking process, and the infused oil can be used in any recipe that would normally call for extra virgin olive oil. Crush a clove between slices of a baguette, drizzle with infused oil, and gently bake for a no-fuss garlic bread, or puree the garlic confit and mix with mashed potatoes for an unforgettable Thanksgiving spread (depending on the herbs involved, of course).
And who could forget about garlic scapes, the underappreciated but delicately delicious flower, a springtime staple of New England farmstands? Scapes tend to arrive around the same time as fiddleheads, and are generally cooked in the same ways — sauteed with vegetables, roasted in meat dishes, or blended into a crowd-pleasing pesto. If your timing is right and you have cloves on hand, try using the garlic-infused oil as the base for your scape pesto. If using cannabis-enhanced garlic oil, consider only replacing a fraction of the pure extra virgin olive oil with the herbal infusion to avoid an unintendedly intense pesto experience. This scape pesto can be made fresh in season, or from scapes that have been frozen for up to six months as a last, late-autumn taste of the sunnier months.
The changing seasons impact us all in different ways, there’s no denying it. These early nights and brisk mornings may have spelled doom for your outdoor plans and plantings, or perhaps opened the door for those bluebird days on the ski lifts. But no matter what type of winter person you happen to be — the mourning gardener, the fuzzy sock wearer, the sledder, the hibernator, or the mistletoe hanger — sometimes, in the end, all you need is clove.
